Disclosure: Our recommendations are based on our testing, research and analysis. We may earn a commission on products purchased using links on this page.
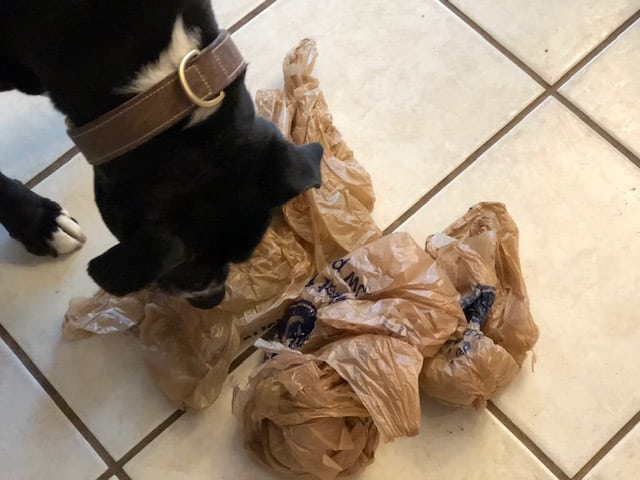
We all have them, plastic bags, old sweaters and such. Rather than pitch them, why not create a dog toy. Your dog is waiting.
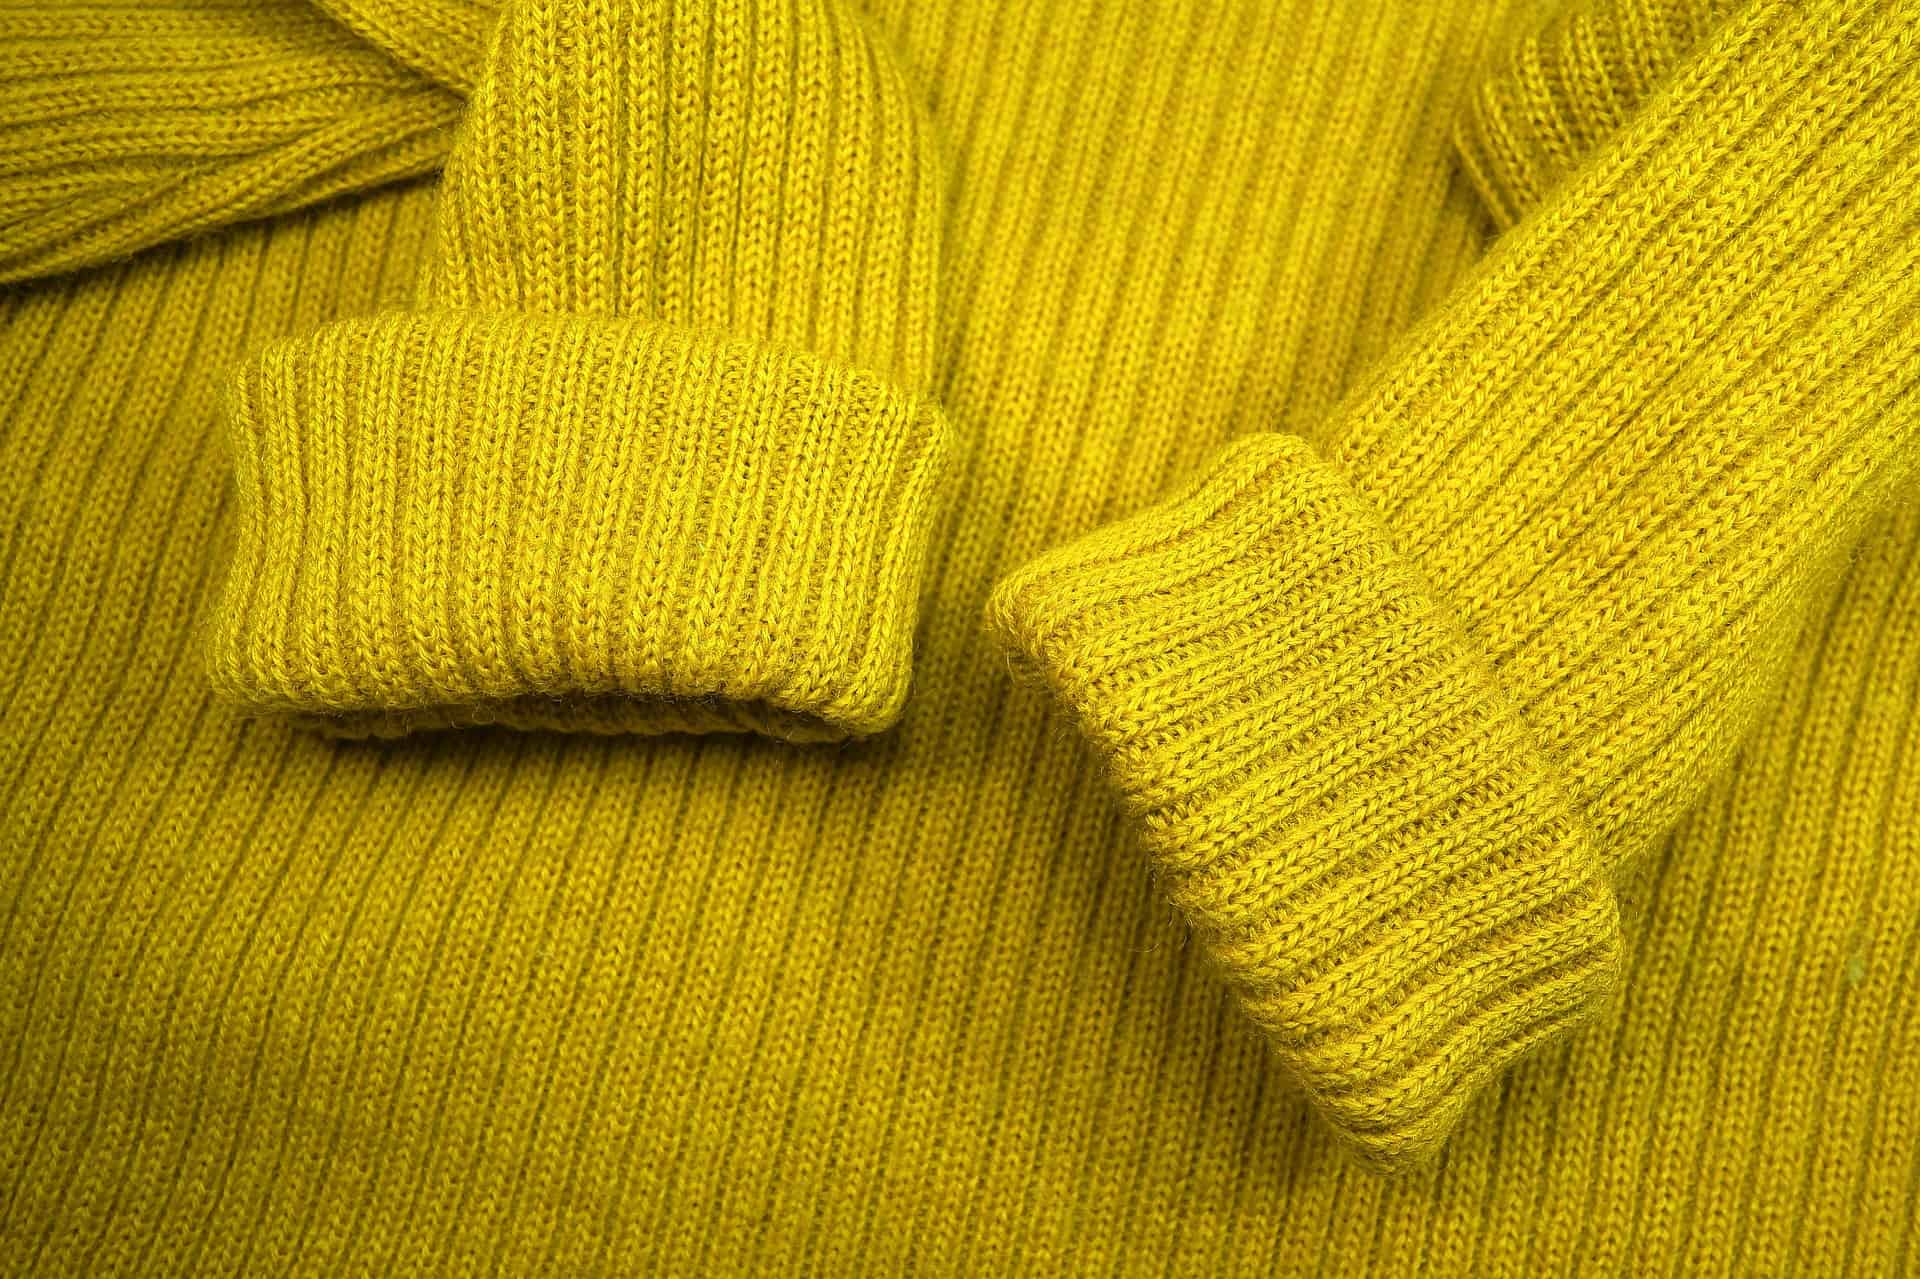
Stuffed Sweater Toys
Materials
• Old sweater, long-sleeved shirt, or sweatshirt pants (acrylic washes easier)
• Pack of Squeaks
• Sewing machine
• Thread
• Straight pins
• Stuffing
• hand needle
• Scissors
• Pattern
Instructions
Cut up the shirt or pants, so they lie flat.
Pin on the dog bone pattern or make up your pattern.
Cut around the pattern. Make sure you have two of each shape for a top and a bottom.
Pin the top and bottom together, so the pattern you want outside the finished toy is facing in.
Sew around the edge, leaving a 2-inch hole.
Turn the toy inside out and add stuffing and add a squeak.
Hand sew the hole shut.
Give to your dog.
Modification: if you plan on using the same pattern multiple times, cut it out of card stock and trace around the pattern with chalk or marker. Use your imagination for the pattern Hearts, Circles, or it does not have to look like anything (your dog won’t mind)
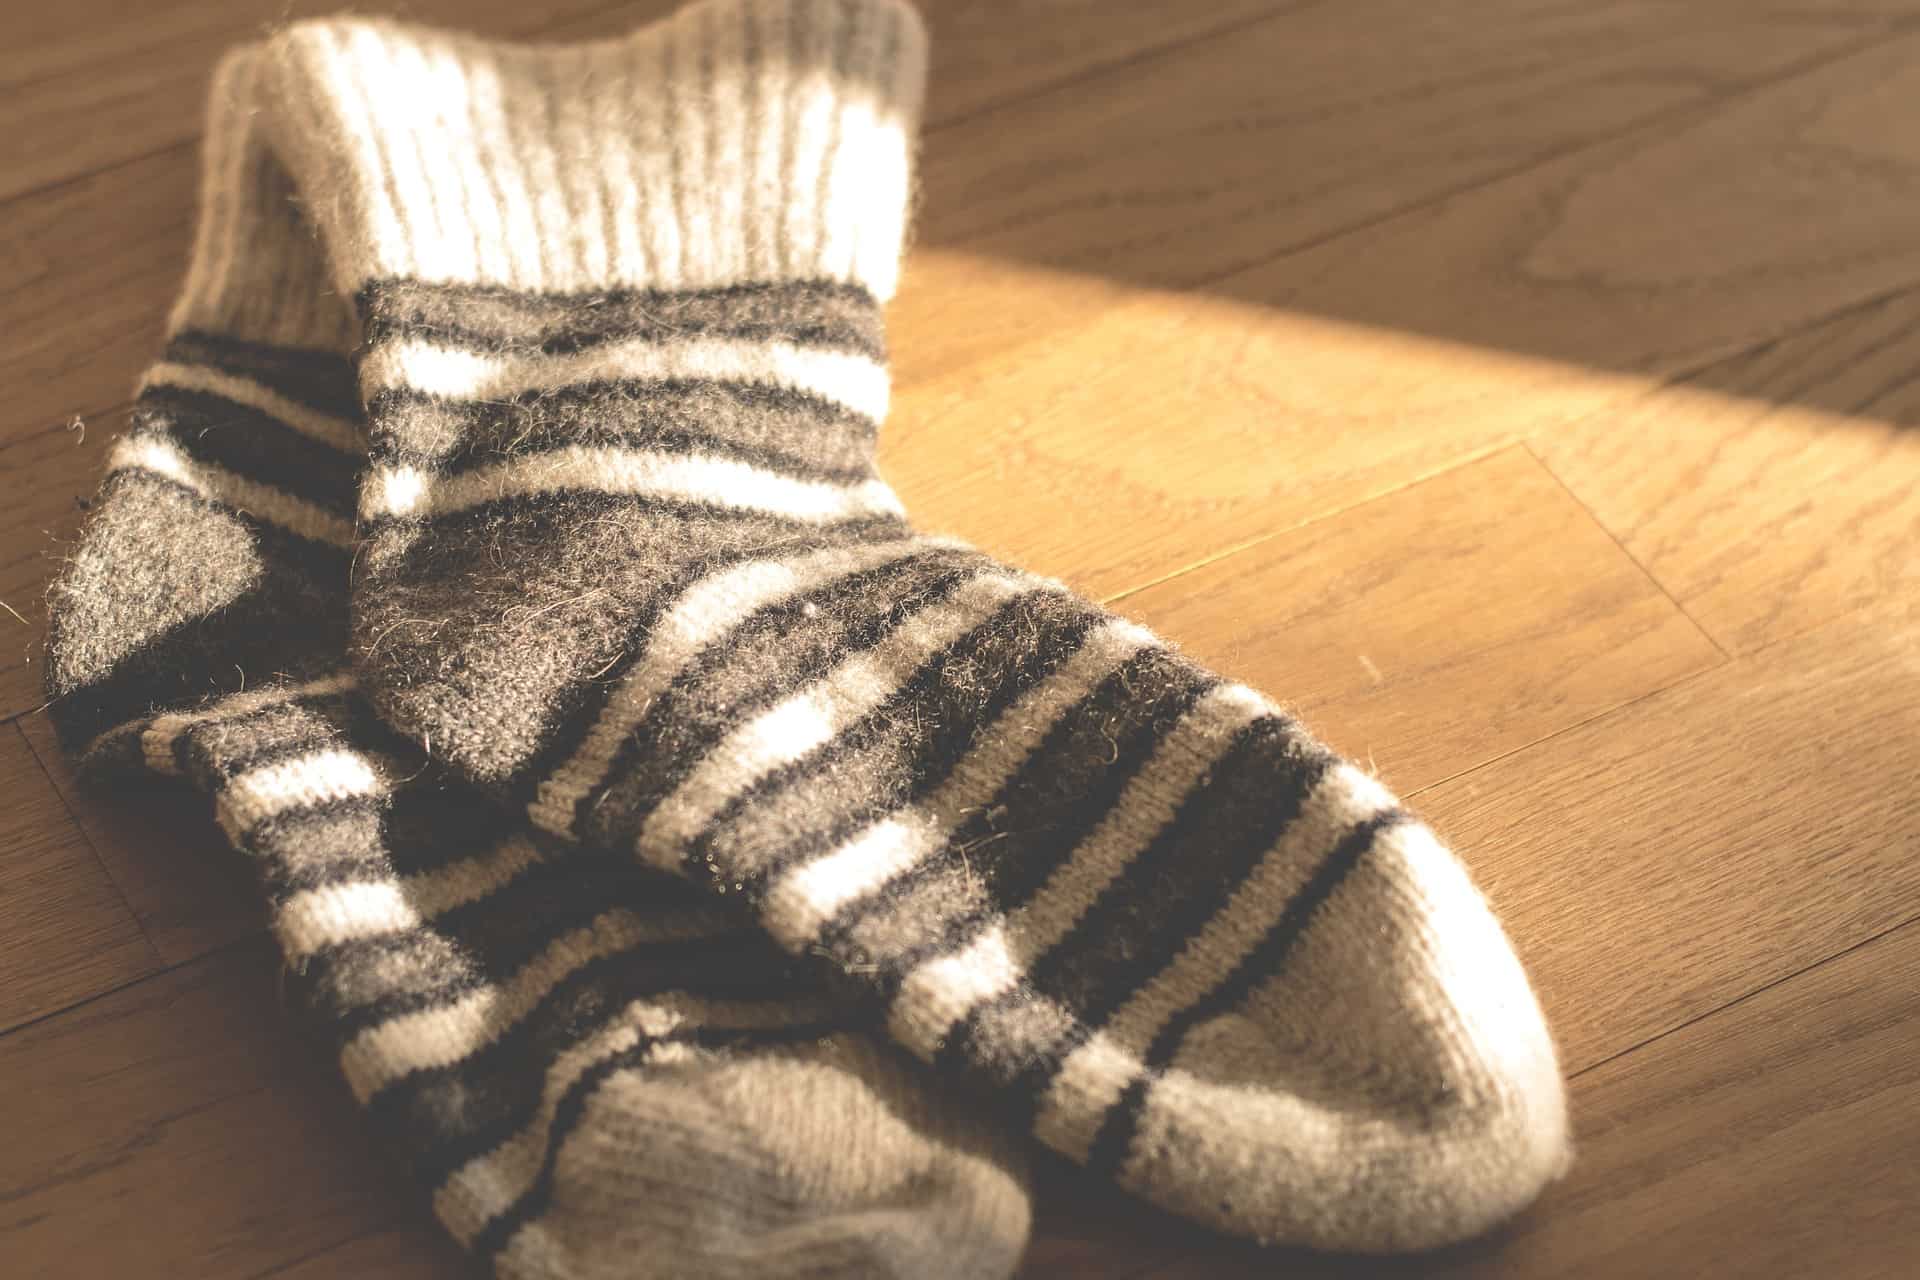
Sock Toy
Materials
• One Sock (big enough for your bottle to fit in)
• Plastic drinking bottle (empty and without cap)
• Needle and Thread
Instructions
Put the plastic bottle in your sock.
Sew up the end of your sock and give it to your dog.
Modification: Sew on Velcro to the end of your sock so that you can reload plastic bottles
Rope Toy
Materials
• Old Jeans, fleece, or sweatshirt
• Scissors
• Needle & Thread
Cut the jeans or material into nine 1 inch strips. The finished product will be smaller, so if you want about a 12-inch rope toy, cut the strips to be about 24 inches long (it will vary depending on the thickness of fabric and tightness of braid).
Stack the strips on top of each other and sew one of the ends together.
Braid the strips, three at a time. Then braid the three braided strips together.
Sew the end pieces to prevent unraveling and trim off the excess.
Modification: Sew the end two inched in from the edge of the fabric, and end the braid two inches from the end for a “frayed” end look.
Plastic Bag Leash
Materials
• About 20 of the heavy plastic bags
• metal leash clip (saved off of an old leash)
• Scissors
• Iron (and ironing board)
• Aluminum foil
Instructions
Cut the bags into three sections.
Braid the bag together, adding more bags by tying or looping them thru the previous bags.
Continue braiding and adding bags till you have a long strand about 7 feet long.
Repeat till you have three braided strands. Then braid the three braided stand together, forming one long rope.
At one end loop, one of the strands thru the metal leash clip and loop the other two stands the other way thru the leash clip.
Wrap the loose ends with unbraided sections of the cut bag and tie them off.
Form a loop, and the other end (for the handle). Keep in mind how long you would like the leash to be.
Cut off the extra bags to your leash length, leaving two or three inches to overlap to wrap the handle with.
Wrap the loose end to the leash base with some more bag strips to form the loop handle.
Turn your iron on to high. To finish, you’ll need two sheets of aluminum foil; if you have some pre-used foil, use it (you will end up destroying it anyway).
Between the two sheets, place the leash parts where you wrapped the bags (either the handle or the clip, you will do this for both.) and iron it. The point is to melt the plastic and keep turning the leash until all the wrapped bag has fused. The bags on the inside of the braid will still be flexible.
Be careful. The iron and the metal clip will be hot! Cut off any hanging bits and test out the strength of the seams indoors before you go on a walk outside.
Jean Leash
Materials
• old pair of jeans
• metal leash clip (saved off of an old leash that was destroyed)
• Heavy duty needle and thread
• Scissors
Instructions
Cut along either side of the seam of a pant leg. You want a long strip of the part of the jean that has been stitched together.
Repeat this with the four seams.
Sew the seams together to create one long strip of fabric.
At this point, determine how long you would like your leash to be. Standard leashes are 5 or 6 feet long. Add 10- 12 inches to your desired length for the handle.
Loop one end thru the leash clip and over itself, then sew it shut.
With the other end, measure about 10 inches and loop the jean over themselves.
Sew it together, so it forms a handle.
Test out the strength of the seams indoors before you go on a walk outside.
You can sew this on a sewing machine; make sure you have the correct needle and machine setting.
Stepping Stone
Materials:
• Portland cement
• sand
• bucket
• stirring stick (we use the paint sticks)
• water
• molds (use plastic containers for frozen food or vegetables, paper buckets, anything that you can rip apart if the stone does not come out)
• Things to put in the stone (broken plates, glass…)
Ingredients
Mix the cement and the sand thoroughly together with a 1:1 ratio.
Add water, about a cup at a time. It will look “dry” when it is mixed. It will be crumby, but when squeezed in your hand, form a loose ball. It is better to be too dry than too wet.
Scoop it out into your molds and level off with your stirring stick.
Add your design; write in the cement, make a mosaic with the glass or plate bits. Be creative)
Let dry 48 hours before removing the mold. Keep out of the sun when drying- the top will cure unevenly and can lead to breaking. Suppose planning on keeping outdoors in the winter paint on concrete sealer to keep it from cracking.
Let’s talk dogs, or even better, let’s learn about dogs. Set aside some time to receive Spike’s dog blogs by Acme Canine.
Down to earth, common sense, proven DOG advice
Welcome to Spike’s Dog Blog by Acme Canine. Throughout the site, you will find a variety of helpful dog training articles, insightful dog behavior tips, and truthful product reviews from nationally-recognized canine trainers and professionals.
Most dog owners think of their dog as being wonderful so a canine temperament test is an impartial way to determine the degree of “wonderfulness” in the dog.
Disclosure: Our recommendations are based on our testing, research and analysis. We may earn a commission on products purchased using links on this page. Are you looking for a safe, natural, rawhide alternative for your dog to chew away on for hours on end? We’d like to introduce you to the Himalayan yak chew! This…
From the Löwenmensch figurine to Dogs Playing Poker, anthropomorphic objects of pets have revealed themselves throughout the history of art. Here’s why we love Get Pet Portraits.
A temperament test is only as good as the person who is administering the test. Learn what is needed to successfully determine if a dog is a good “fit”.
Looking for a children’s book which gives insight into choosing the right dog as well as the responsibilities of owning one, consider Is That a Wolf or A Dog?